
Complet queen cage - basic set
Larva Transfer System - Basic Queen Rearing Kit
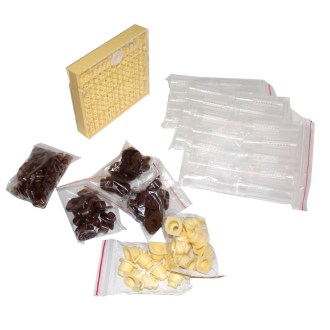
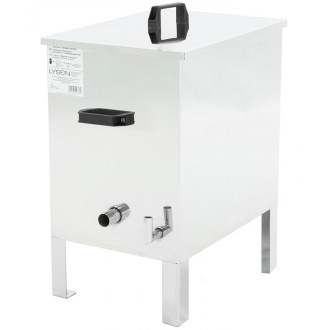
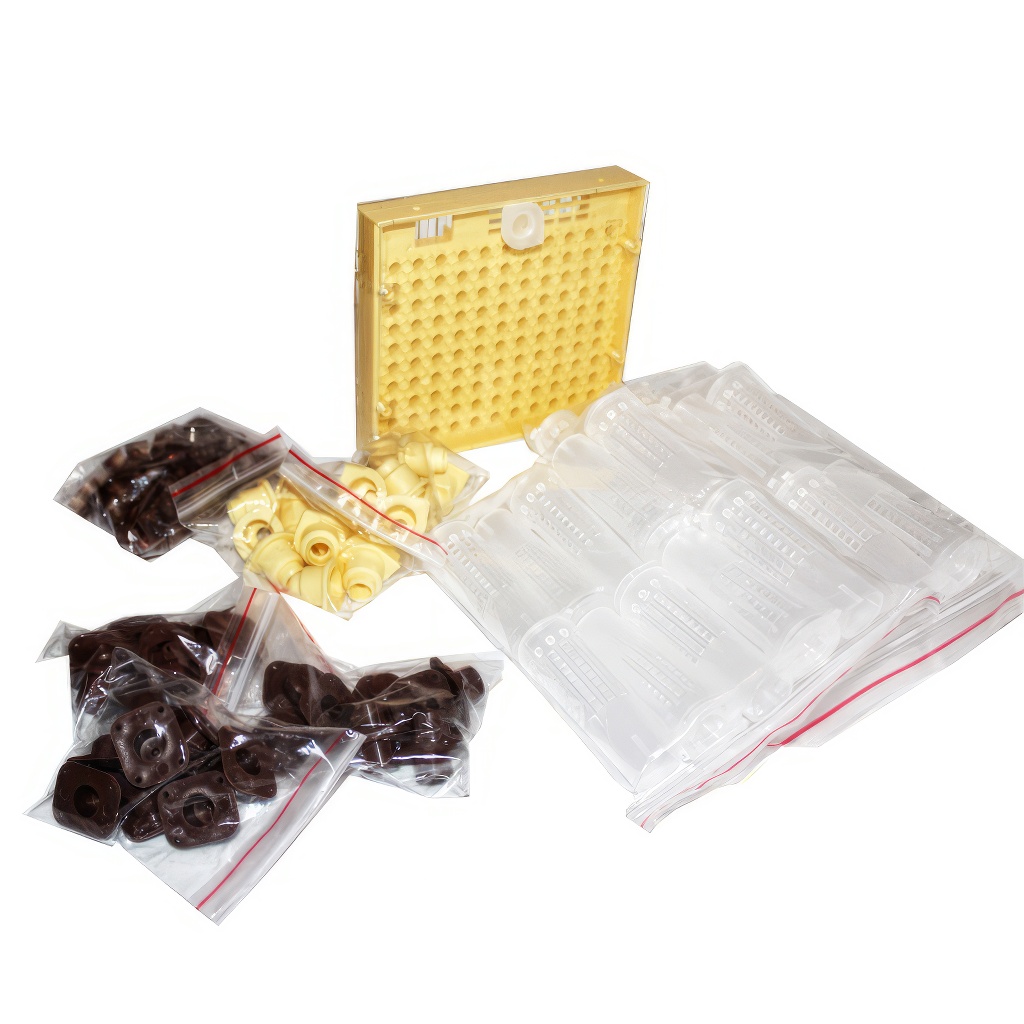
The larva transfer system is a complete and practical kit for rearing queen bees, which significantly simplifies the entire process – without manual grafting using a spoon. It allows safe and precise transfer of the youngest larvae to the breeder colony without risk of chilling or mechanical damage. The basic set contains 1 cell starter frame (cage), 100 queen cell cups, 30 base holders, 30 cell cup holders, and 30 nursery cages. The core of the system is the cell starter cage – a special plastic "partition" into which the queen lays eggs. After the larvae hatch, the cups are simply removed from the back side and without contact with the larva, they snap into holders on the grafting bar, from where they go to the breeder colony.
Main Benefits for Beekeepers and Meeting Your Needs
This solution will be appreciated by every beekeeper who wants to achieve stable results when rearing their own queens without unnecessary stress and without demanding work with tiny larvae. It is also suitable for beekeepers with weaker eyesight or less steady hands, for whom classic picking of larvae from comb with a grafting tool is difficult. The time-consuming search for "correctly aged" larvae under a magnifying glass is eliminated – thanks to the cell starter cage, you have uniform age of larvae and know exactly when the queen laid. Moreover, the larvae are in the cup from the beginning, where they are immediately abundantly fed with royal jelly, without interruption of nutrition. The result is usually vital and quality queens suitable for further breeding and regular operation.
Package Contents and Kit Compatibility
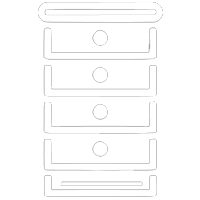
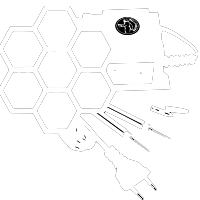
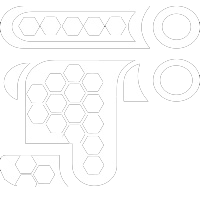
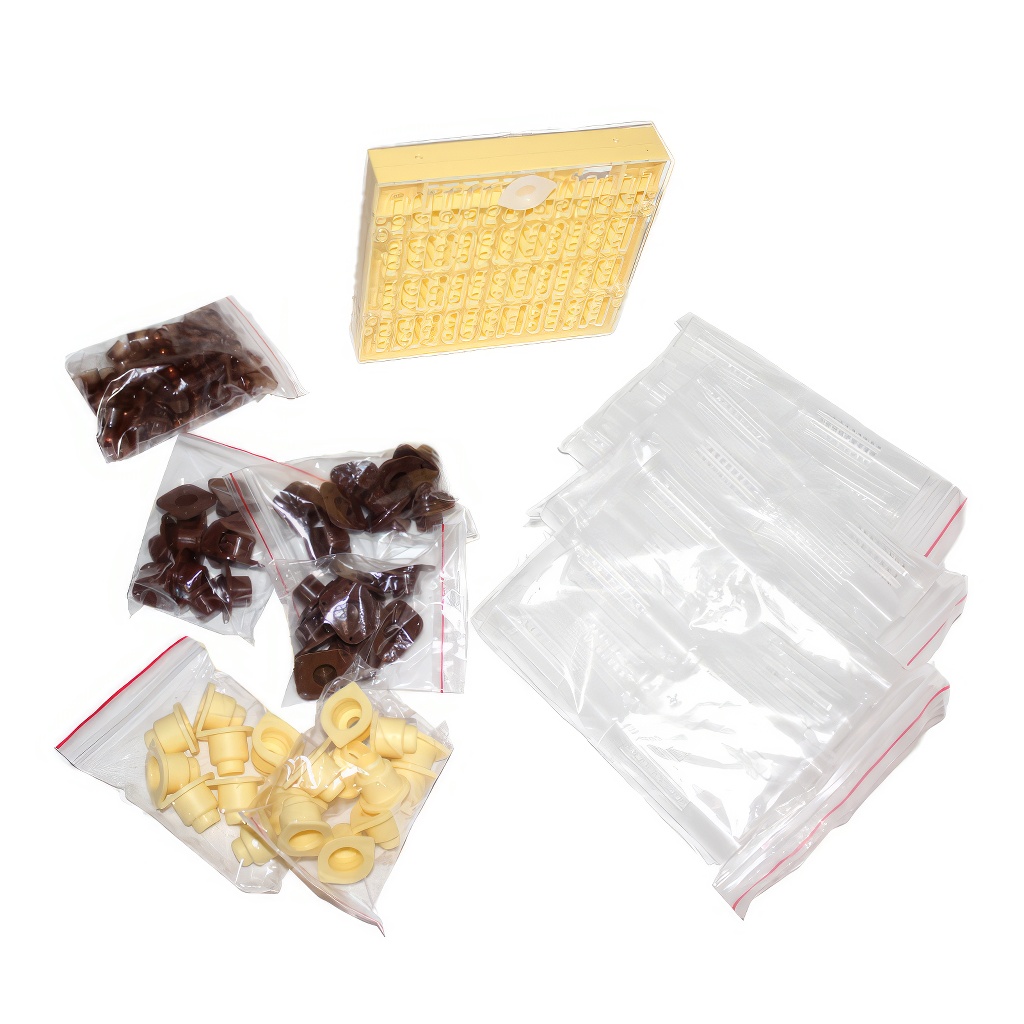
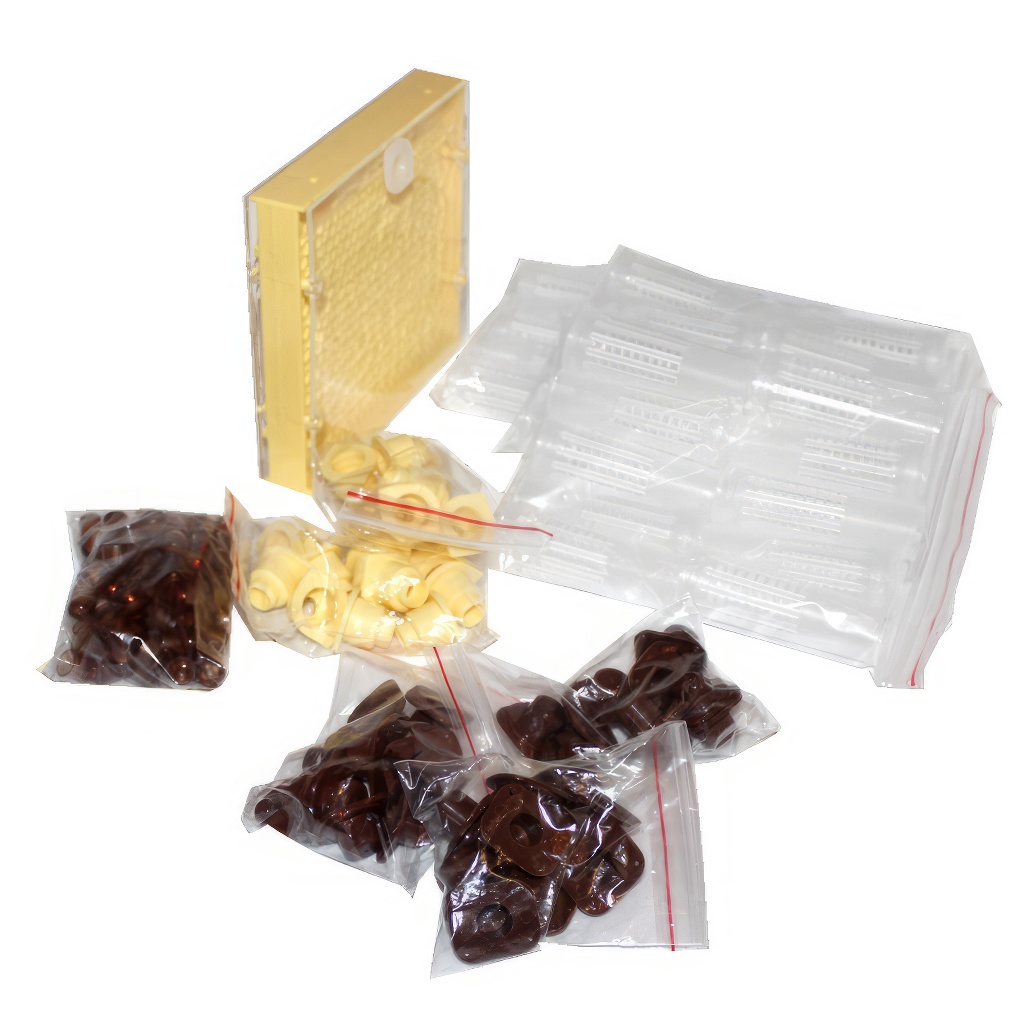
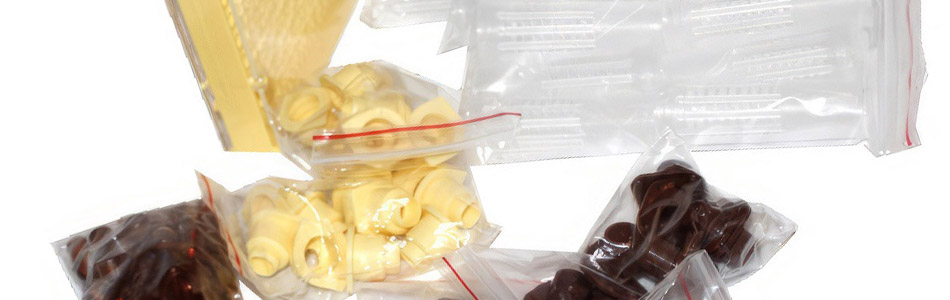
The individual parts are fully compatible with each other, form a functional whole and are designed for repeated use. The kit contains five main parts:
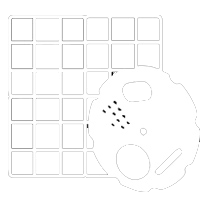
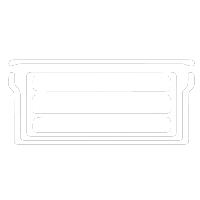
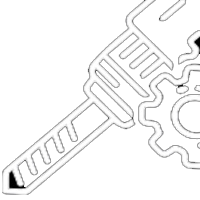
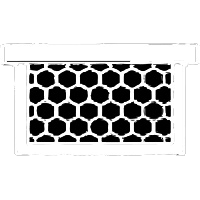
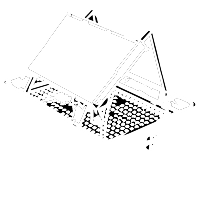
1. Egg-laying Frame: Contains a plastic partition, front cover with queen excluder, opening with plug for inserting the queen, and rear full-surface cover for fixing cups.
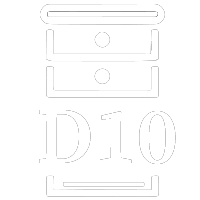
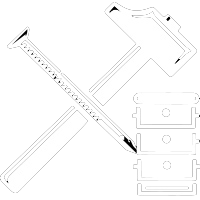
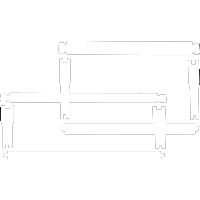
2. Base Holder (10 pcs): Used for firm hive box to a wooden grafting frame (grafting bar).
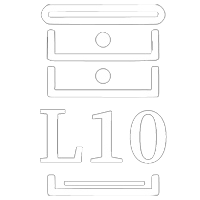
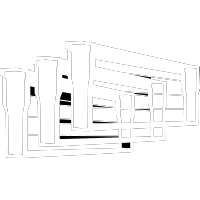
3. Cell Cup Holder (10 pcs): In ivory color. Carries the queen cell cup with larva and simply attaches to the base holder.
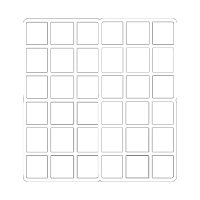
4. Queen Cell Cup (114 pcs): Inserted into the back side of the cell starter frame; the queen lays an egg directly into it without beekeeper intervention.
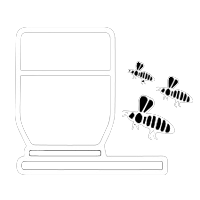
5. Nursery Cage (10 pcs): Compatible with the cup holder. After capping, it is attached to the holder and protects the queen cell and newly emerged queen from damage or killing by bees.
System Technical Parameters
| Part Name | Parameters and Specifications |
| Queen Cell Cup | outer diameter 10 mm, height 10 mm, inner diameter 8 mm (114 pcs per package) |
| Cell Cup Holder | ivory color, diameter 12 / 17 / 22 mm, height 18 mm (10 pcs per package) |
| Base Holder | base plate dimension 26 × 22 mm, height 12 mm (10 pcs per package) |
| Nursery Cage | fully compatible with cup holder, serves to protect queen cell (10 pcs per package) |
| Cell Starter Frame | number of cells 110, outer dimension 130 × 147 mm, total thickness including covers 30 mm |
Queen Rearing Procedure Step by Step
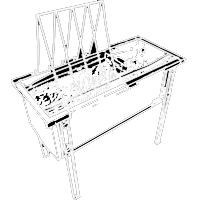
Step 1: Preparation and Frame Mounting. Insert the plastic cell starter frame into a classic wooden frame. A hole can be cut in drawn comb and the frame secured with two screws from the bottom side of the top bar, or secured with rubber bands or string. Another option is screwing to the top bar of an empty frame, wiring and wrapping wires around the plastic; then embed the partition with a prepared cutout.
Step 2: Acceptance and "Scenting" by the Colony. Place the wooden frame with inserted cups (110 pcs) and attached transparent covers into the colony for 2–3 days. The bees will coat the plastic with a thin layer of wax and propolis, attach it to the comb, and the frame will acquire the colony's scent.
Step 3: Isolation of Breeder Queen. After scenting, coat the side with the queen excluder with a small amount of honey. Catch the breeder queen, insert her through the opening in the front cover into the cell starter cage and close with the plug. The queen remains inside, while workers pass through the excluder and can feed her.
Step 4: Placement in Brood Chamber. Place the frame with the confined queen in the center of the brood chamber between combs with open brood. Ensure sufficient bee space so bees can comfortably reach the queen through the excluder.
Step 5: Cell Laying. The queen usually lays in the cups within 2–4 hours. Check everything the following day. If the cups are laid (eggs stand vertically in the first days), remove the front cover, release the queen and return the frame so the bees continue warming and caring.
Step 6: Checking Larva Hatching. On the fourth day, remove the frame, gently brush off the bees and verify that the larvae have hatched. After approximately 72 hours, the larva no longer "stands" but lies at the bottom of the cell as a slightly curved crescent. In a well-fed larva, a gentle sheen of the first royal jelly is visible against the light.
Step 7: Transferring Cups with Larvae. On a warm day (or in a warm room), remove the rear transparent cover and take out the cups with larvae. Insert each cup into a holder and snap it into the base holder, which is pre-attached to the grafting bar at spacing of approximately 28–40 mm.
Step 8: Insertion into Breeder Colony. Prepare the breeder colony – you can use rearing with queen present (e.g., by moving open brood to the honey super above excluder and subsequent adjustment with partition) or queenless colony without queen. Timing is important: insert the grafting frame no later than one hour after queenlessness, otherwise the bees will start building emergency queen cells and may not accept your larvae. Place the frame in the center of the brood body, where there is the most suitable temperature and plenty of nurse bees.
Step 9: Caging Mature Queen Cells. Approximately on the 12th–15th day from laying, cage the mature capped queen cells by sliding the nursery cage onto the holder. Put a small amount of honey-sugar paste or a piece of crystallized honey at the bottom of the cage for nutrition. The queen usually emerges on the 16th day.